
Coconut Bunny Butt Cake
A Cottontail that's as cute as it is tasty!
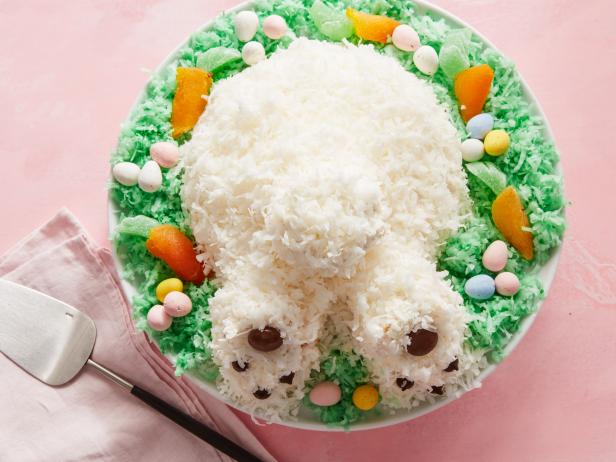
Crushed pineapple in the batter gives this cake a dense pound cake-like texture, which is helpful when anchoring the cupcakes and decorating. The cakes and cupcakes can be made a day ahead and wrapped in plastic wrap. Don't worry if you're frosting job doesn't look perfect -- covering the cake with coconut hides every flaw.
INGREDIENTS
Cake:
- 2 large eggs plus 4 egg whites, at room temperature
- 3/4 cup cream of coconut
- 1/2 cup drained crushed pineapple
- 2 teaspoons coconut extract
- 1 teaspoon pure vanilla extract
- 2 1/4 cups all-purpose flour, plus more for the bowl (see Cook's Note)
- 1 cup sugar
- 2 teaspoons baking powder
- 1/2 teaspoon fine salt
- 12 tablespoons (1 1/2 sticks) unsalted butter, cut into pieces, at room temperature, plus more for greasing bowl
Coconut Buttercream:
- 3 cups confectioners' sugar, sifted
- 2 sticks unsalted butter, at room temperature
- 1 to 2 tablespoons milk
- 1 teaspoon vanilla extract
- 1/2 teaspoon coconut extract
Decoration:
- Thin pretzel sticks, for securing the cupcakes
- One 10-ounce bag sweetened shredded coconut
- 8 drops green food coloring
- 2 large round chocolate candies, such as Candy Melts
- 6 chocolate chips
- Mini candy-coated chocolate eggs, for garnish
- 5 dried apricots
- 3 gummy leaf candies
INSTRUCTIONS
NOTE: You'll need an 8-inch (1 1/2 quart) ovenproof metal bowl, a muffin/cupcake pan and paper cupcake liners.
- Prep: Preheat the oven to 325 degrees F. Butter and flour an 8-inch (1 1/2 quart) ovenproof metal bowl. Line 4 muffin cups with paper liners.
- For the cake: Whisk the eggs and egg whites in a large bowl. Whisk in the cream of coconut, pineapple, coconut extract and vanilla extract until combined. Whisk together the flour, sugar, baking powder and salt in another large bowl. Beat in the butter, one piece at a time, with an electric mixer on low speed until the mixture resembles coarse meal. Add half the egg mixture and beat on high until fluffy, 1 to 2 minutes. Beat in the remaining egg mixture until combined, scraping down the sides of the bowl as needed. Fill the muffin cups each 2/3 full, then pour the remaining batter into the prepared bowl. Bake until a cake tester inserted in the center of each cake comes out clean, 18 to 20 minutes for the cupcakes and 1 hour 30 minutes to 1 hour 40 minutes for the bowl. Remove the cakes to a wire rack and let cool in their pans for 15 minutes, then turn them out and let cool completely.
- For the buttercream: Beat the confectioners' sugar and butter together with an electric mixer on low speed until well combined, then beat on high speed until light and fluffy, 1 to 2 minutes. Beat in 1 tablespoon of the milk and the vanilla and coconut extracts until light and spreadable, 2 to 3 minutes more, adding up to 1 tablespoon more milk if the frosting is too stiff.
- Decoration: With a serrated knife, trim the flat bottom of the bowl-shaped cake so it lies flat on a plate, rounded-side up, and frost with a layer of buttercream. Remove the wrappers from the cupcakes and anchor 2 of them with a pretzel stick each at the base of the cake to make the bunny's feet (leave about 1 1/2 inches between the feet). Cut the third cupcake in half from top to bottom. With pretzel sticks, attach the cupcake halves to the top of the feet, with the cut-side facing down and the rounded ends positioned to be the heels of the feet. Attach the last cupcake with a pretzel stick to the lower half of the top of the cake to make a tail. Frost the cupcakes with the remaining frosting. Wipe away any frosting that has smeared on the cake plate.
- Pat about 1 1/2 cups shredded coconut all over the cake. Put the remaining coconut in a large zip-top plastic bag. Mix the green food coloring with 2 teaspoons water and add to the bag. Toss and massage the coconut until it is uniformly green in color. Press the chocolate candies into the bottoms of the bunny feet with the larger candy at the top and the smaller ones underneath so they resemble the pads of the toes. Spread the green coconut all around the cake plate to make grass and decorate with candy eggs. Flatten the apricots with a rolling pin and roll into carrot shapes. Cut the leaves in half crosswise and use scissors to snip them to resemble carrot tops. Insert the carrot tops into the wider end of the apricot carrots and arrange them in the grass around the bunny.
Cook’s Note
When measuring flour, spoon it into a dry measuring cup and level off the excess. (Scooping directly from the bag compacts the flour, resulting in dry baked goods.)
Source: Food Network
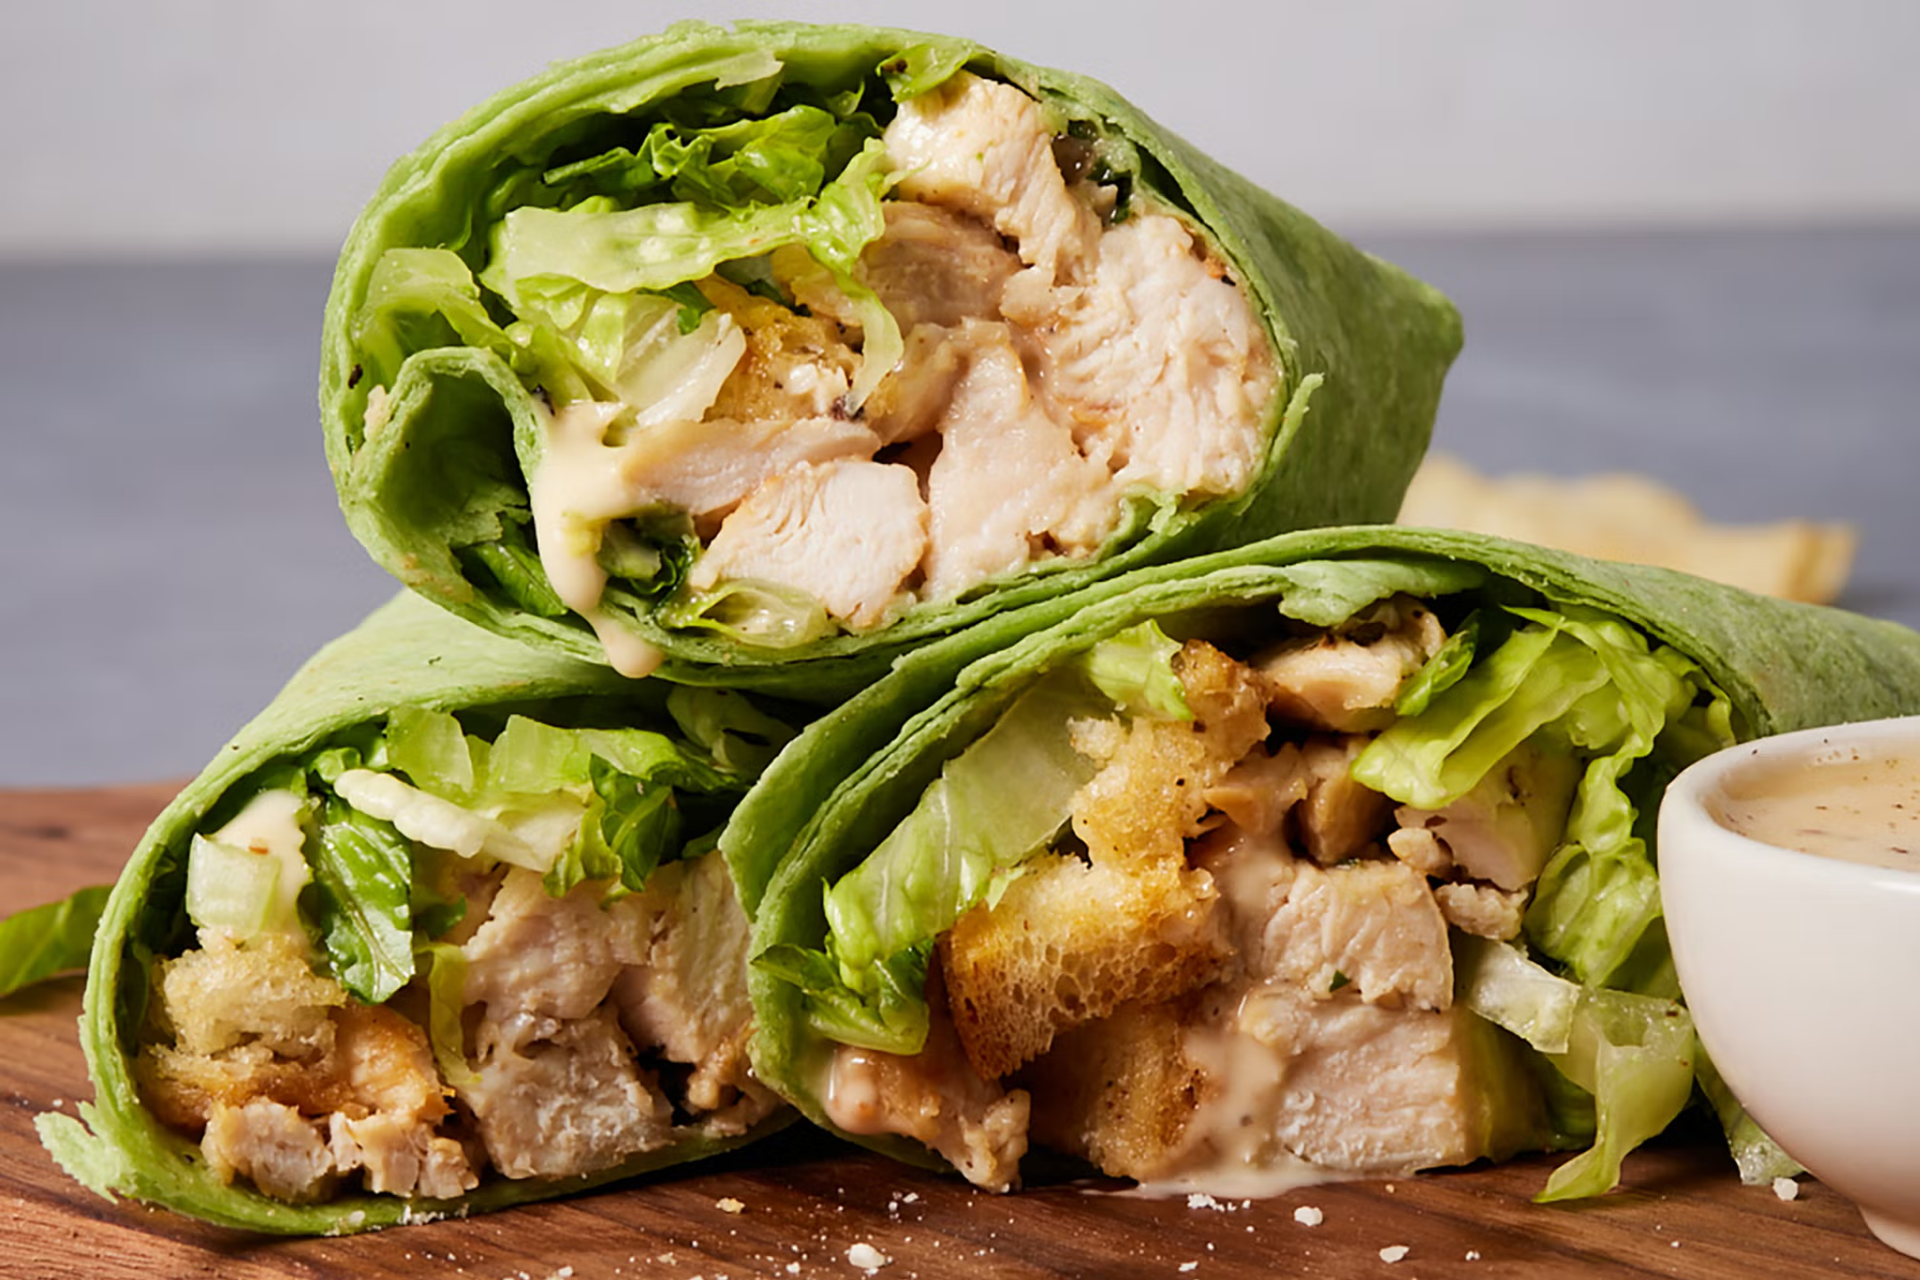
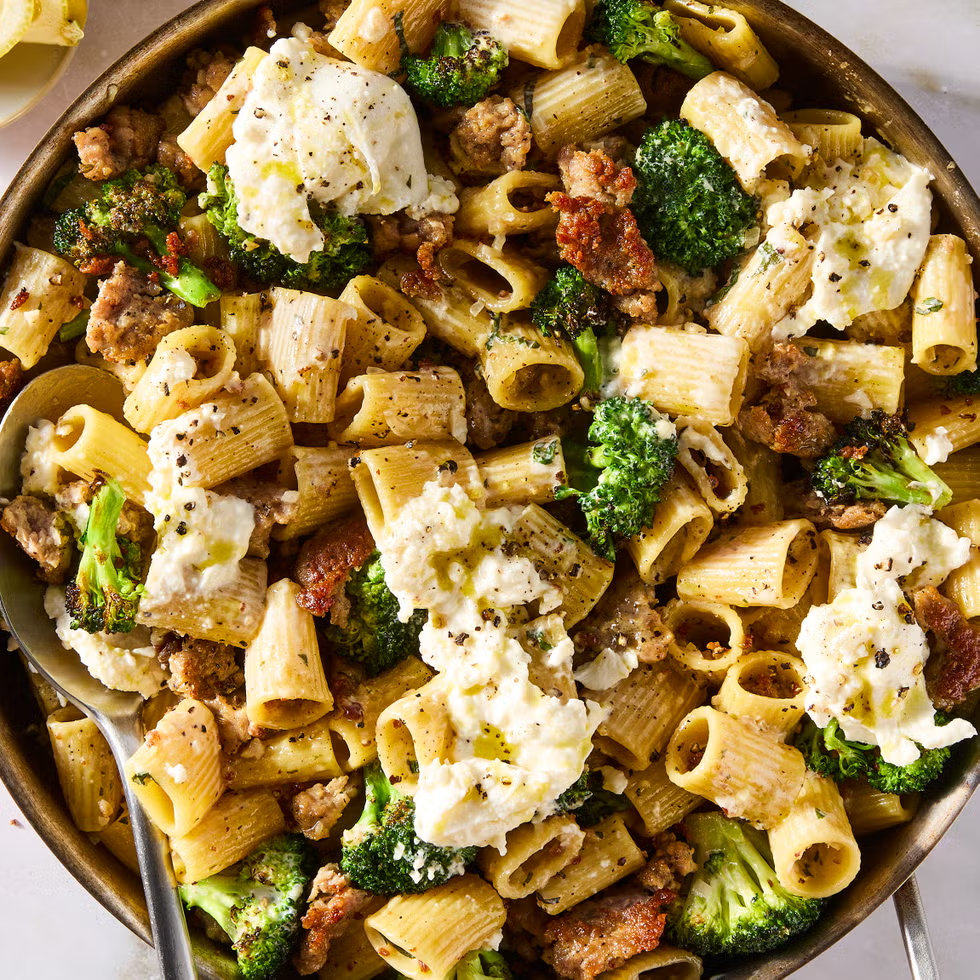
So simple to make at home and 1000% worth the little effort it requires.
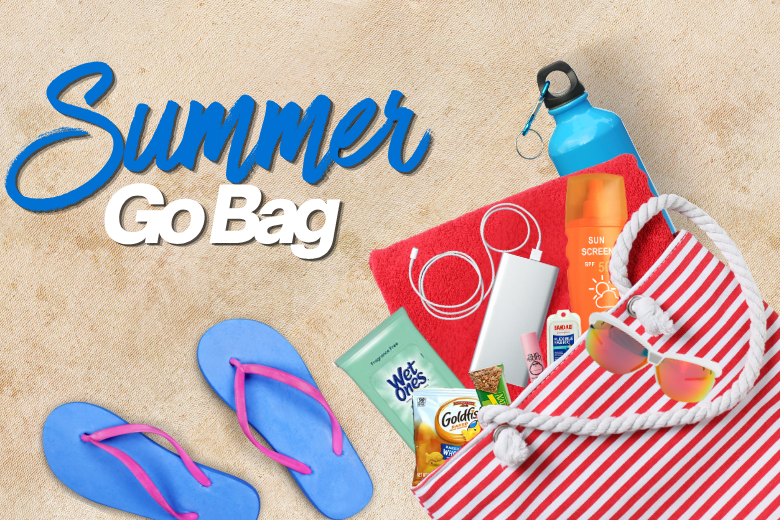
The Summer Go Bag: A Tiny Kit That Saves the Day Summer has a way of making “quick little outings” turn into full-blown adventures. A trip to the pool becomes dinner on the way home. A Saturday errand turns into a stop at the park. A lake day somehow requires 47 items, three snacks, and at least one person asking, “Did anyone bring sunscreen?” Enter: The Summer Go Bag . It doesn’t have to be fancy. It doesn’t have to be perfectly organized. It’s just a small tote, backpack, bin, or canvas bag you keep stocked with the little things that make summer life easier. Think of it as your warm-weather backup plan. What to put in your Summer Go Bag: Sunscreen + bug spray Because nothing ruins a good day faster than realizing you needed both about two hours ago. Reusable water bottles Keep one or two empty bottles in the bag, or toss in a couple of bottles of water before you leave. A small first-aid kit Bandages, antiseptic wipes, pain reliever, allergy medicine, and any must-have family basics. Phone charger or power bank Especially helpful for road trips, long days out, or those “I swear my phone was at 42% five minutes ago” moments. Wet wipes + tissues For sticky hands, spilled drinks, mystery car messes, and every parent/grandparent/aunt/uncle who has learned the hard way. A lightweight towel or blanket Great for parks, wet seats, surprise splash pads, outdoor concerts, or impromptu picnics. A few snacks Granola bars, crackers, trail mix, fruit snacks — anything that can survive a little heat and prevent a hunger-related family incident. Plastic bags or a small trash bag For wet swimsuits, muddy shoes, snack wrappers, or anything you don’t want touching the rest of your car. Spare sunglasses or a hat Simple, useful, and always appreciated when someone forgets theirs. Pet basics, if applicable A leash, collapsible water bowl, waste bags, and a small towel can make pet-friendly outings much easier. Where to keep it: Your car is usually the easiest spot, especially if you’re often on the go. If your vehicle gets too hot, keep heat-sensitive items like sunscreen, medicine, and snacks inside the house and toss them in before you leave. You can also make a smaller version for: Pool bags Lake bags Sports practices Road trips Grandkid days Dog park visits The real trick: Restock when you get home The Go Bag only works if it’s ready when you need it. After a busy weekend, take two minutes to replace what you used: snacks, wipes, sunscreen, bandages, water bottles, or plastic bags. That tiny reset makes the next outing so much easier. Summer should feel a little more spontaneous — and a little less like you’re packing for an expedition every time you leave the house. A simple Go Bag won’t solve everything, but it might just save the day.

Insurance can be confusing — and most people have questions they feel like they should already know the answer to.
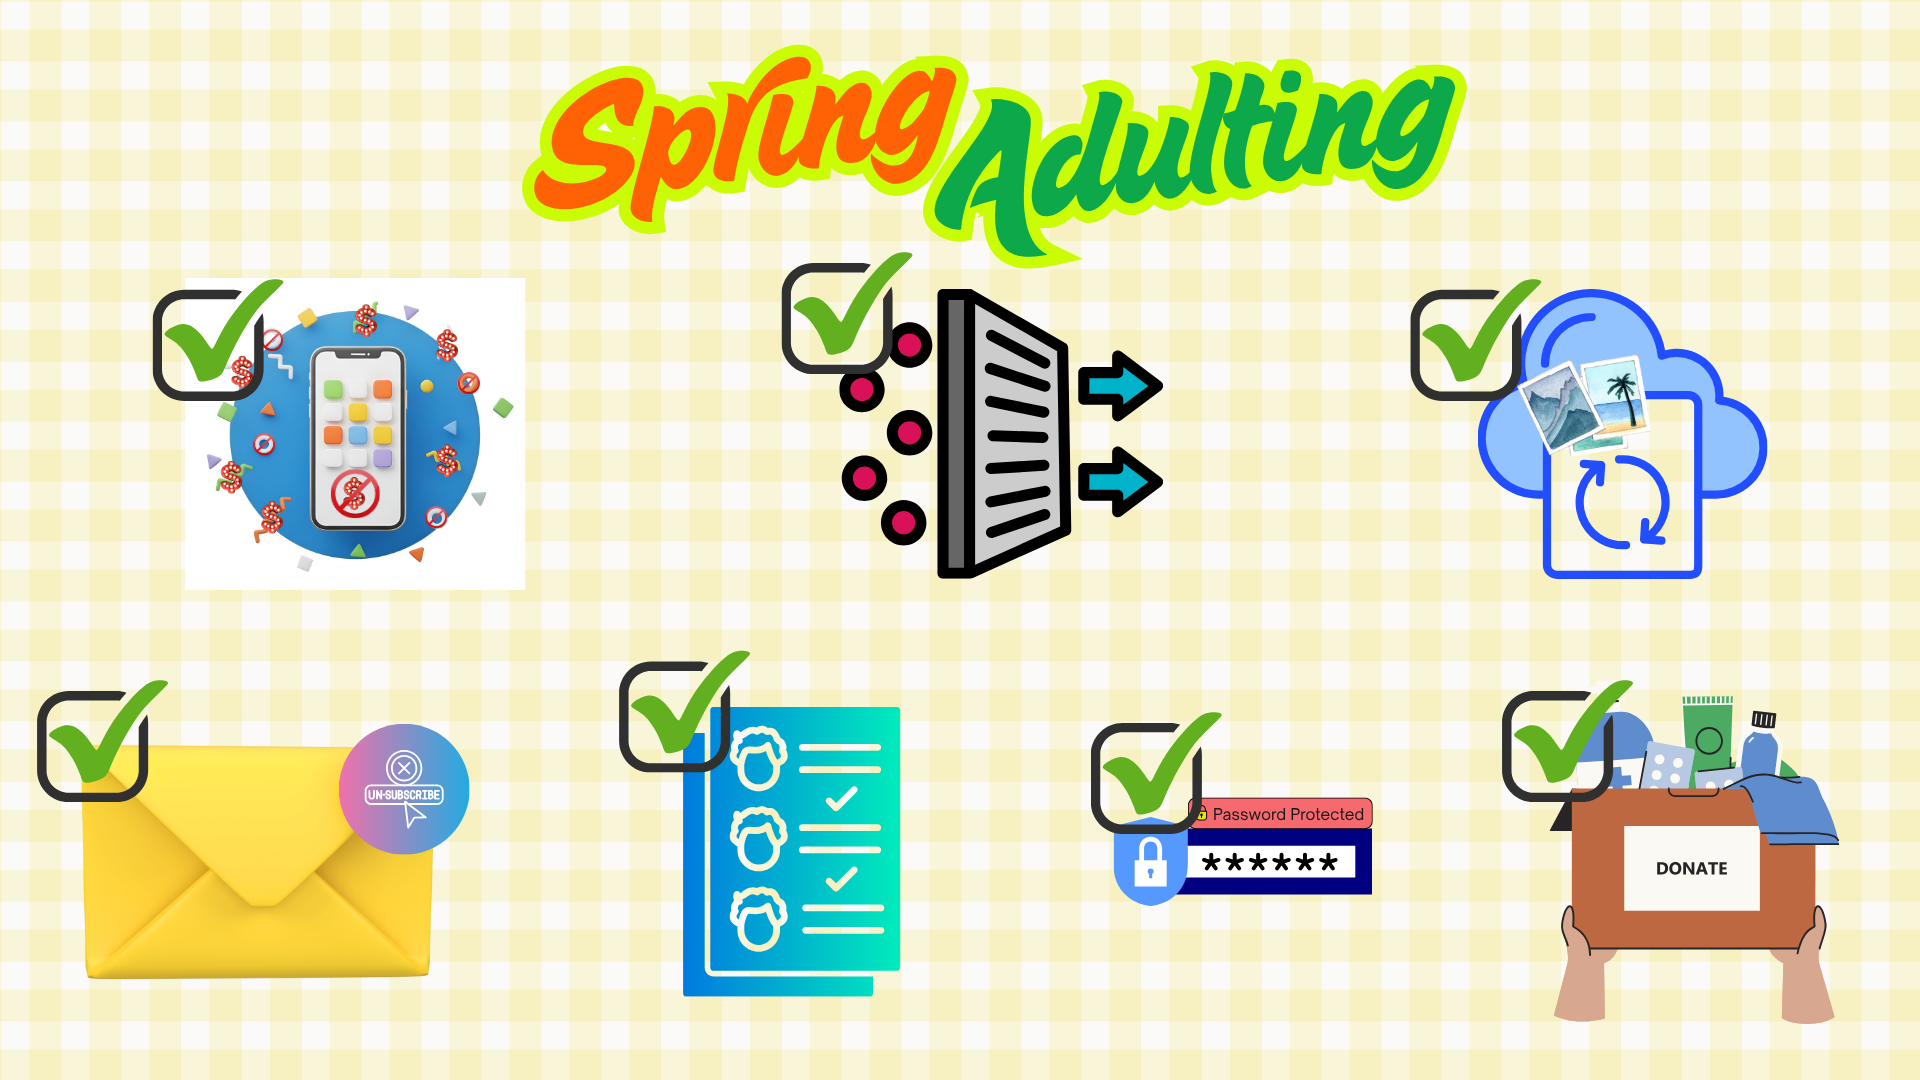
Seven quick things you can do in minutes to improve the rest of your year!
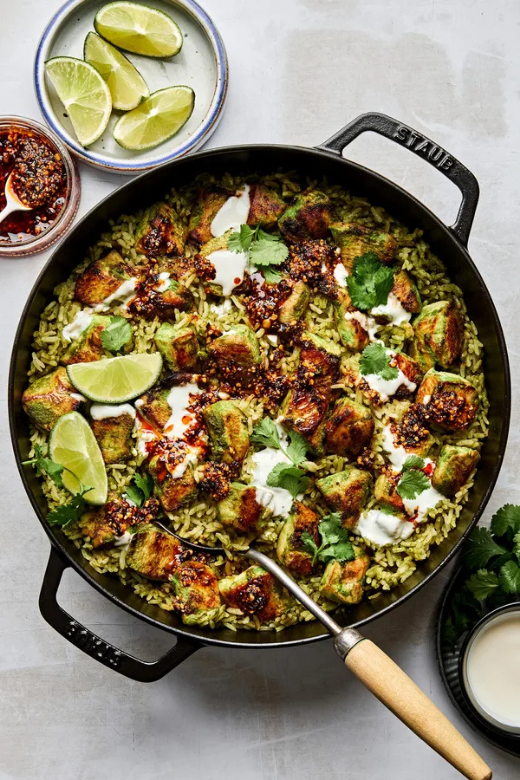
Skillet Chicken With Mexican Green Rice & Salsa Macha

Insurance can be confusing — and most people have questions they feel like they should already know the answer to.

Insurance can be confusing — and most people have questions they feel like they should already know the answer to.
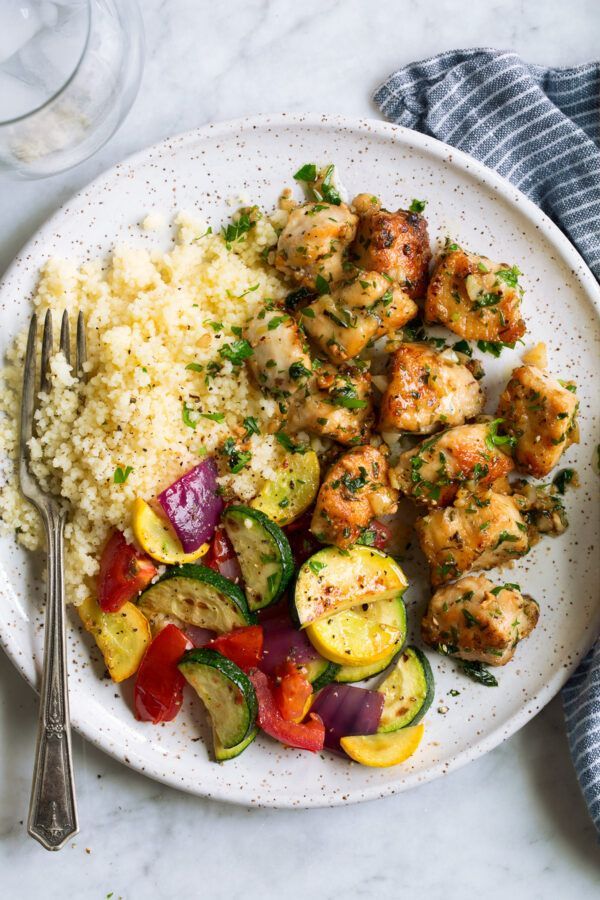
The easiest 15-minute recipe!
“Home Inventory in 30 Minutes: The Thing You’ll Be Glad You Did”
Includes: phone video walkthrough method, where to store it, high-value items scheduling, receipts/photos and downloadable checklist for home inventory.
January 2026