Recipe of the Month: Berry Pavlova Cake

Fresh & Fun for the Summer!


INGREDIENTS:


Cake: 

6 egg whites, room temperature (*see tip 1 below)

1 1/2 cups granulated sugar

2 tsp cornstarch

1/2 Tbsp lemon juice

1/2 Tbsp vanilla extract


Frosting: 

1 1/2 cups cold heavy whipping cream

2 Tbsp granulated sugar


Topping: 

4-5 cups fresh berries (blueberries, raspberries, small strawberries, blackberries..) ** see tip 2 below

1-2 kiwi fruit, peeled and sliced


*Tip 1: Pavlova eggs will beat best when they are at room temperature. If you forget this step, place un-cracked eggs in warm water for 15 minutes to bring them to room temp.

**Tip 2: Keep berries dry and chilled prior to use.


INSTRUCTIONS:


Cake: 

Preheat the Oven to 250˚F. Line a large baking sheet with parchment paper.


1.Using the whisk attachment on your stand mixer, beat 6 egg whites and 1 1/2 cups sugar for 6 to 7 minutes on high speed, or until stiff peaks form. The mixture will be smooth and glossy.

2. Add 1/2 Tbsp lemon juice, 1/2 Tbsp vanilla extract and 2 tsp cornstarch and continue mixing another 15 seconds          or  until well blended. Transfer immediately to a large sheet of parchment paper and use a spatula to form a 10″    round ring, making a deep indent in the center to accommodate the cream and berries later. The center will rise so make a substantial well in the center.

3. Bake at 250˚F for 1 hour and 30 minutes. Then turn off the oven and with door closed, let it sit inside the oven another 1 hour until cooled. You can keep it in the oven longer to cool since the oven will be off and you might have dinner plans ;). Remove pavlova from oven and let cool completely to room temp then cover and let stand in a dry, room temp room up to 2 days or assemble and serve right away.


Topping: 

1.Beat 1 1/2 cups heavy whipping cream with 2 Tbsp sugar on high speed 2-3 minutes or until frosting is stiff and spreadable but don’t over beat or it will become buttery. (note: you can make cream ahead of time, then cover with plastic wrap and refrigerate until ready to use).

2. Just before serving, spread whipped cream over the pavlova and top with plenty of your favorite berries. Refrigerate leftovers. It’s best served right away.


Original Source: Natashaskitchen.com

September 5, 2025
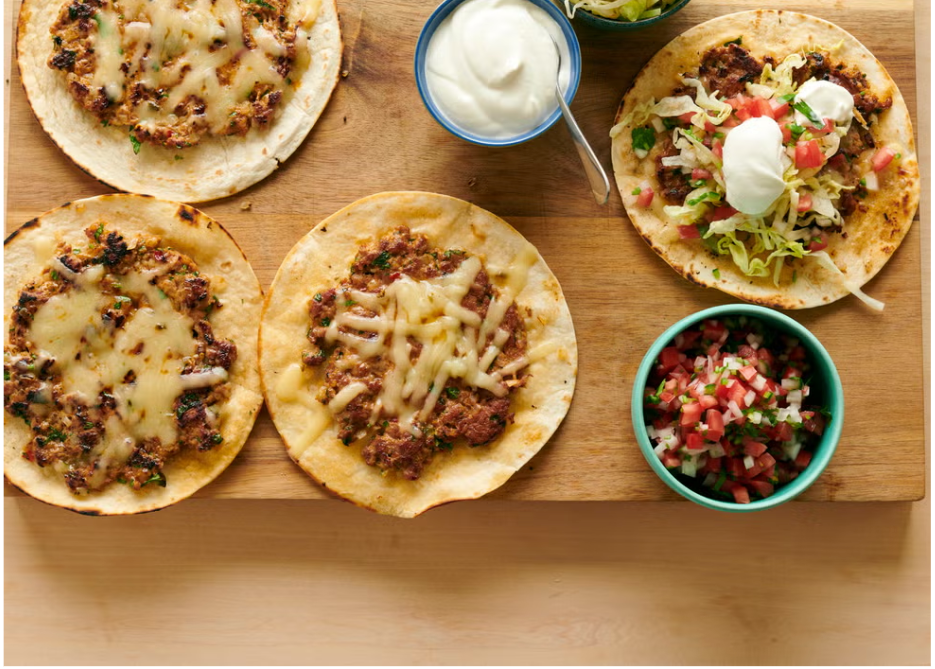
A Delicious Taco Night Upgrade!
September 5, 2025
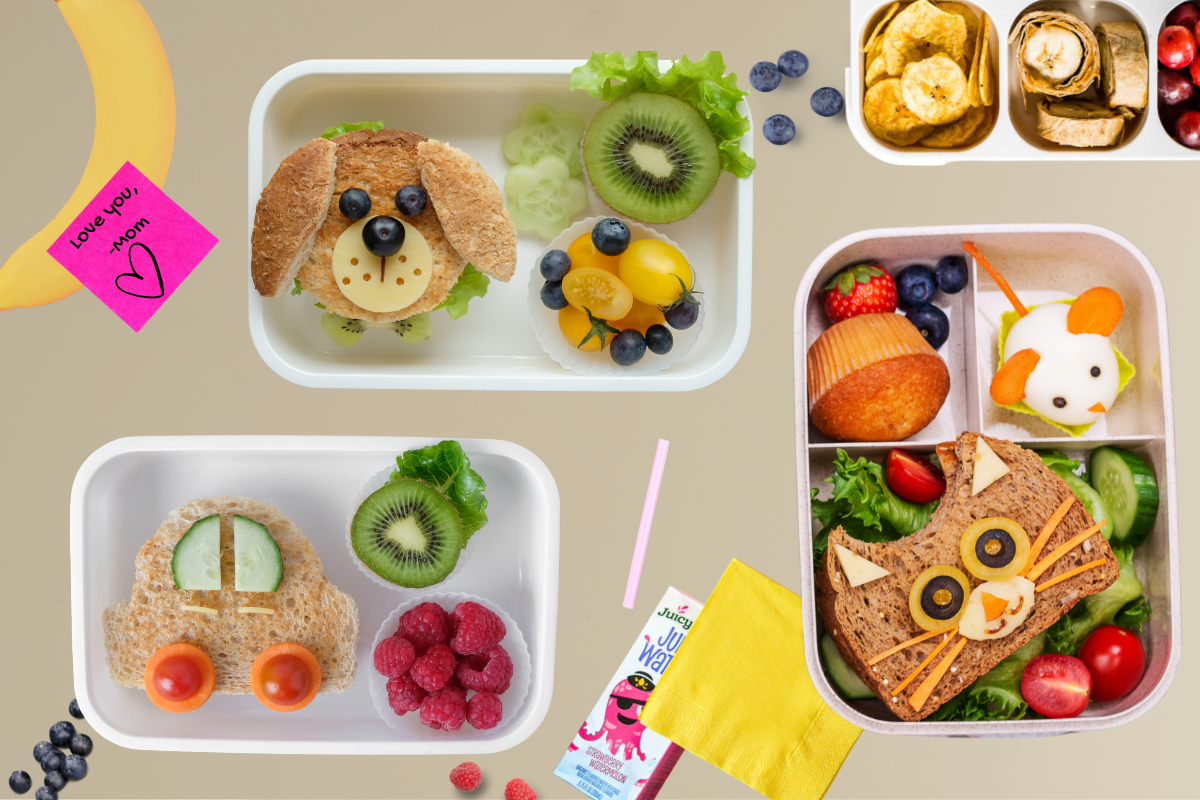
The school year is in full swing, and with it comes the daily challenge: what to pack for lunch? If you're tired of uneaten sandwiches and sad-looking fruit, you're not alone! Packing engaging and nutritious lunches can feel like a daunting task, but it doesn't have to be. With a little creativity and some smart strategies, you can transform lunchtime from a chore into a highlight of your child's day. The secret to a successful school lunch lies in a few key areas: making it appealing, keeping it fresh, and ensuring it's easy for kids to eat independently. Think beyond the basic sandwich and consider incorporating a variety of textures, colors, and flavors. Bento-style boxes or compartmentalized containers are fantastic for offering a mix of small, exciting bites. We've put together some fantastic, kid-approved lunch ideas that are designed to be fun, fast, and fridge-friendly. These options aim to entice even the pickiest eaters and might even spark a little "lunch envy" among their classmates! Lunchbox Bragging Rights: Fun Lunch Ideas Kids Actually Eat (and Other Kids Might Envy) list for parents: Mini Pizza Lunchables (but cooler): Empower your child to assemble their own mini pizzas with pita rounds, marinara, cheese, and toppings. Dino Nugget Charcuterie: A playful take on a classic, featuring warm nuggets, veggies, and dip. Wafflewich: A sweet and satisfying breakfast-for-lunch option with toaster waffles, nut butter, and fruit. Snacky Bento Box: A customizable selection of cheese, crackers, fruit, deli meat, and a small treat for a balanced and fun meal. Deconstructed Taco Day: All the components for a DIY taco, kept separate and ready to assemble. PB&J Sushi: A fun and easy twist on the classic peanut butter and jelly sandwich. Egg-cellent Protein Pack: A protein-packed option with hard-boiled eggs, hummus, and crunchy dippers. Lunch Packing Pro Tips to Make Your Life Easier: Compartmentalize with Color: Use silicone muffin cups to separate items and add a pop of color to the lunchbox. This prevents sogginess and makes the lunch visually appealing. Freeze for Freshness (and Function!): Freeze yogurt tubes or juice boxes overnight. They'll act as eco-friendly ice packs, keeping food cool until lunchtime, and will be perfectly thawed by the time your child is ready to eat. Cookie Cutter Fun: Use cookie cutters to transform ordinary sandwiches, cheese slices, or fruit into fun shapes like animals or silly faces. This simple trick makes lunch instantly more exciting! Add a Personal Touch: Slip in a sweet note, a funny joke, or a small drawing to remind your child you're thinking of them. These little gestures can brighten their day and make lunchtime extra special. By incorporating these creative ideas and simple tips, you can turn school lunch packing into a fun and rewarding experience for both you and your child. You can do them on your own for a daily lunchtime surprise, or let your kids get into the fun with you! Say goodbye to uneaten lunches and hello to happy, fueled-up learners!
August 2, 2025
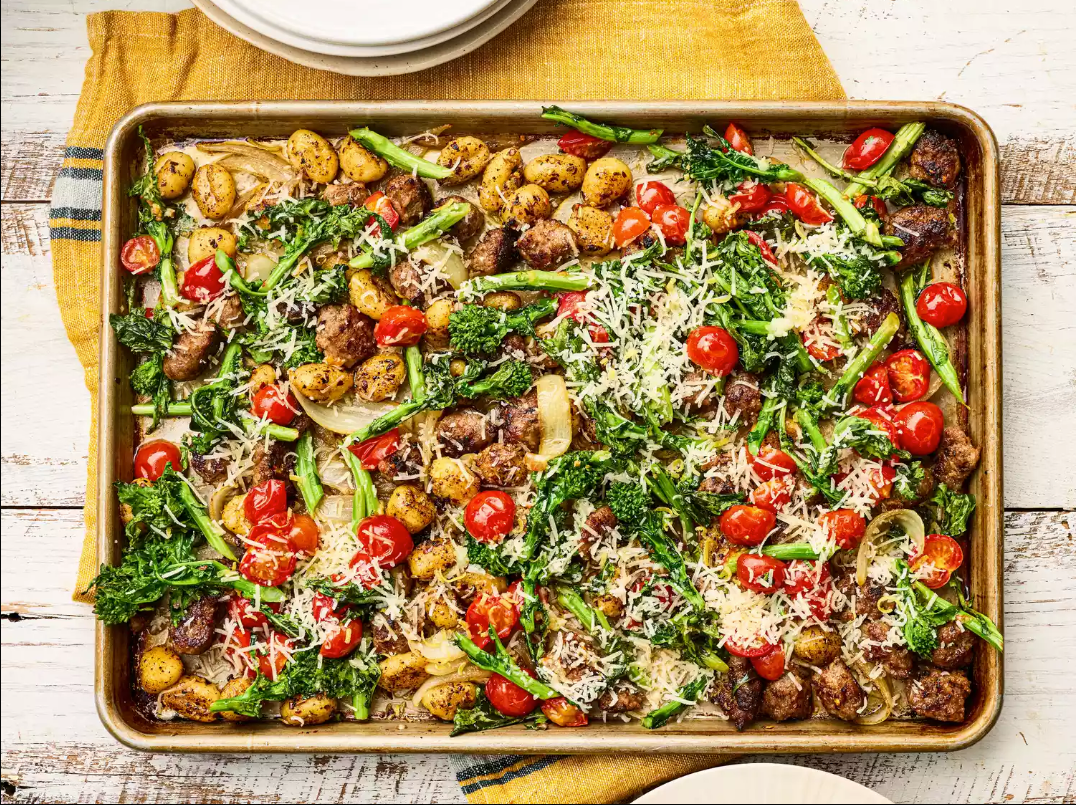
This Sheet-Pan Gnocchi and Sausage Recipe Is Perfect for Busy Weeknights
August 2, 2025
Small, screen-free resets for solo adventurers, couples, and families alike.
July 3, 2025
Perfect for a crowd!
July 3, 2025
Plus, a list of quirky ways to keep cool!
May 16, 2025
Because your pets are family, too.
April 3, 2025
A Fresh and Flavorful Twist on Classic Quesadillas!
April 3, 2025
Out with the Old, In with the Organized!