
Recipe of the Month: Peppermint Mocha Cupcakes
Capture Winter's Essence!
INGREDIENTS:
Cupcakes:
- 1/2 cup (8 Tbsp; 113g) unsalted butter
- 2 ounces semi-sweet baking chocolate
- 1 heaping Tablespoon instant coffee*
- 1/2 cup (41g) unsweetened cocoa powder (not Dutch processed)
- 3/4 cup (94g) all-purpose flour* (spooned & leveled)
- 1/2 teaspoon baking soda
- 3/4 teaspoon baking powder
- 1/4 teaspoon salt
- 2 large eggs, at room temperature
- 1/2 cup (100g) granulated sugar
- 1/4 cup (50g) packed light brown sugar
- 1 teaspoon pure vanilla extract
- 1/2 teaspoon peppermint extract
- 1/2 cup (120ml) buttermilk*
Peppermint Vanilla Frosting:
- 1 cup (16 Tbsp; 226g) unsalted butter, softened to room temperature
- 3–4 cups (360-480g) confectioners’ sugar
- 1/4 cup (60ml) heavy cream*
- 1 teaspoon pure vanilla extract
- 1/4 teaspoon peppermint extract
- salt, to taste
- optional for garnish: 4 ounces melted semi-sweet baking chocolate and crushed candy canes
INSTRUCTIONS:
- Make the cupcakes: Preheat the oven to 350°F (177°C). Line a 12-count muffin pan with cupcake liners. Set aside.
- Melt the butter and chocolate together in the microwave. Microwave in 30 second increments, stirring between each time. You may also melt the butter and chocolate over low heat on the stovetop. Stir until combined, then mix in the instant coffee. Set aside to slightly cool.
- In a medium bowl, toss the cocoa powder, flour, baking soda, baking powder, and salt together until thoroughly combined. Set aside. In a large bowl, whisk the eggs, sugar, brown sugar, vanilla extract, and peppermint extract together until smooth. Add the cooled butter/chocolate and whisk until smooth. Add half of the flour mixture, then half of the buttermilk. Repeat until everything is added. Stir until *just* combined; do not overmix. The batter will be very thick like pudding.
- Divide the batter between 12 liners in your cupcake pan. Bake for 18 minutes, or until a toothpick inserted in the center comes out clean. Allow to cool completely before frosting.
- Make the frosting: Beat softened butter on medium speed with an electric or stand mixer. Beat for about 3 minutes until smooth and creamy. Add confectioners’ sugar, heavy cream, vanilla extract, and peppermint extract with the mixer running. Increase to high speed and beat for 3 full minutes (the longer you beat, the creamier the frosting!). Add more confectioners’ sugar if frosting is too thin or more cream if frosting is too thick. Add salt if frosting is too sweet (I add about 1/8 teaspoon).
- Decorate the cupcakes: Frost cooled cupcakes. There may be leftover frosting depending how much you use on each cupcake. Drizzle with melted chocolate. Top with crushed candy canes right before serving.
- Store leftovers in the refrigerator for up to 4-5 days.
Enjoy!
Original Source: Sally's Baking Addiction
So simple to make at home and 1000% worth the little effort it requires.
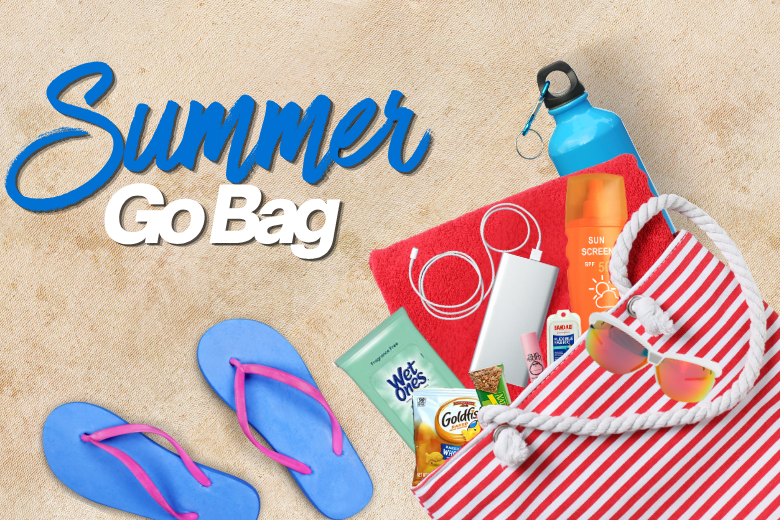
The Summer Go Bag: A Tiny Kit That Saves the Day Summer has a way of making “quick little outings” turn into full-blown adventures. A trip to the pool becomes dinner on the way home. A Saturday errand turns into a stop at the park. A lake day somehow requires 47 items, three snacks, and at least one person asking, “Did anyone bring sunscreen?” Enter: The Summer Go Bag . It doesn’t have to be fancy. It doesn’t have to be perfectly organized. It’s just a small tote, backpack, bin, or canvas bag you keep stocked with the little things that make summer life easier. Think of it as your warm-weather backup plan. What to put in your Summer Go Bag: Sunscreen + bug spray Because nothing ruins a good day faster than realizing you needed both about two hours ago. Reusable water bottles Keep one or two empty bottles in the bag, or toss in a couple of bottles of water before you leave. A small first-aid kit Bandages, antiseptic wipes, pain reliever, allergy medicine, and any must-have family basics. Phone charger or power bank Especially helpful for road trips, long days out, or those “I swear my phone was at 42% five minutes ago” moments. Wet wipes + tissues For sticky hands, spilled drinks, mystery car messes, and every parent/grandparent/aunt/uncle who has learned the hard way. A lightweight towel or blanket Great for parks, wet seats, surprise splash pads, outdoor concerts, or impromptu picnics. A few snacks Granola bars, crackers, trail mix, fruit snacks — anything that can survive a little heat and prevent a hunger-related family incident. Plastic bags or a small trash bag For wet swimsuits, muddy shoes, snack wrappers, or anything you don’t want touching the rest of your car. Spare sunglasses or a hat Simple, useful, and always appreciated when someone forgets theirs. Pet basics, if applicable A leash, collapsible water bowl, waste bags, and a small towel can make pet-friendly outings much easier. Where to keep it: Your car is usually the easiest spot, especially if you’re often on the go. If your vehicle gets too hot, keep heat-sensitive items like sunscreen, medicine, and snacks inside the house and toss them in before you leave. You can also make a smaller version for: Pool bags Lake bags Sports practices Road trips Grandkid days Dog park visits The real trick: Restock when you get home The Go Bag only works if it’s ready when you need it. After a busy weekend, take two minutes to replace what you used: snacks, wipes, sunscreen, bandages, water bottles, or plastic bags. That tiny reset makes the next outing so much easier. Summer should feel a little more spontaneous — and a little less like you’re packing for an expedition every time you leave the house. A simple Go Bag won’t solve everything, but it might just save the day.

Insurance can be confusing — and most people have questions they feel like they should already know the answer to.
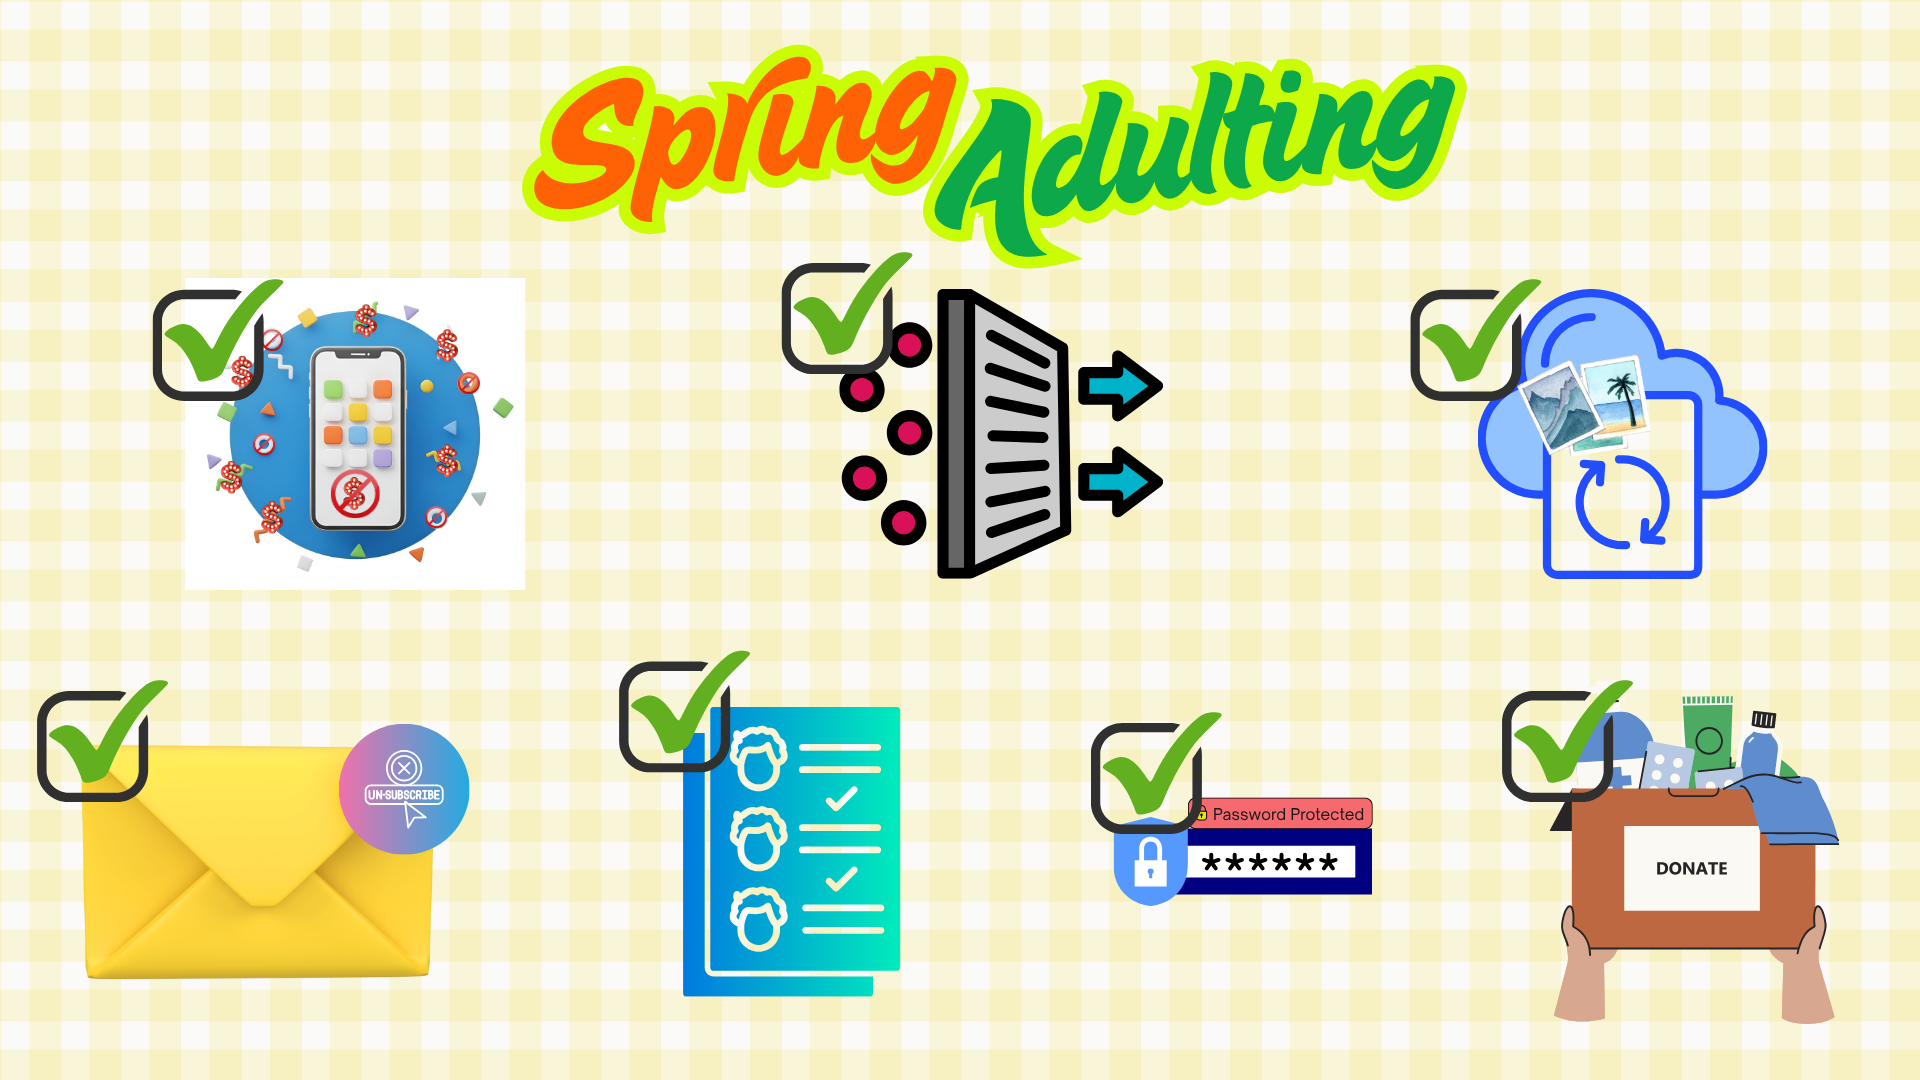
Seven quick things you can do in minutes to improve the rest of your year!
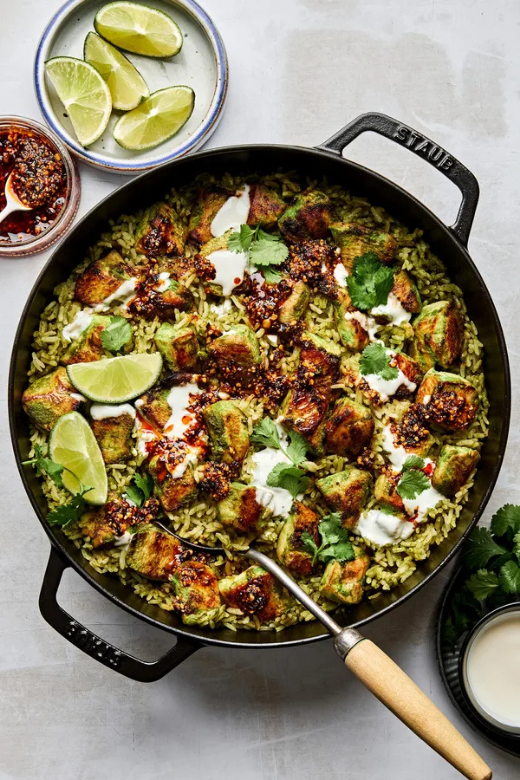
Skillet Chicken With Mexican Green Rice & Salsa Macha

Insurance can be confusing — and most people have questions they feel like they should already know the answer to.

Insurance can be confusing — and most people have questions they feel like they should already know the answer to.
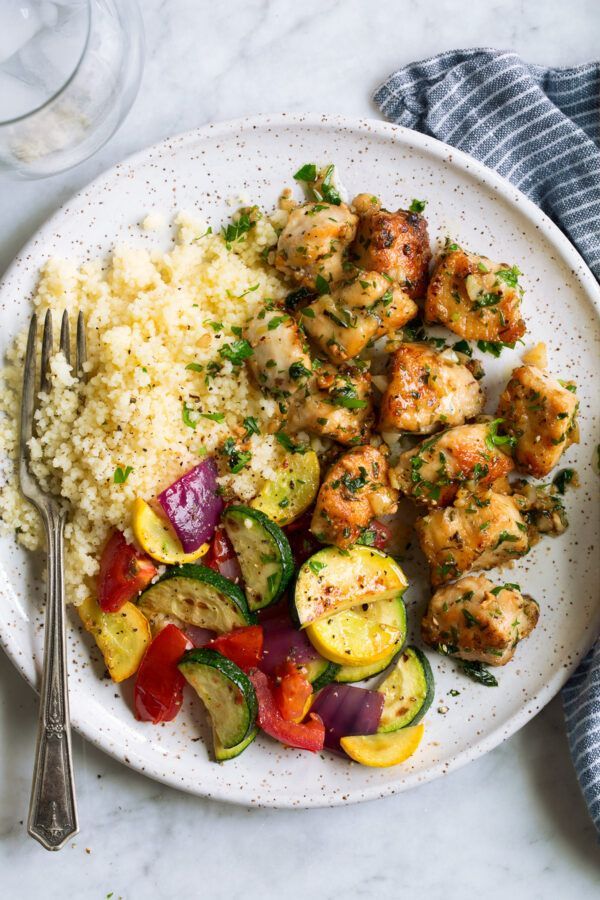
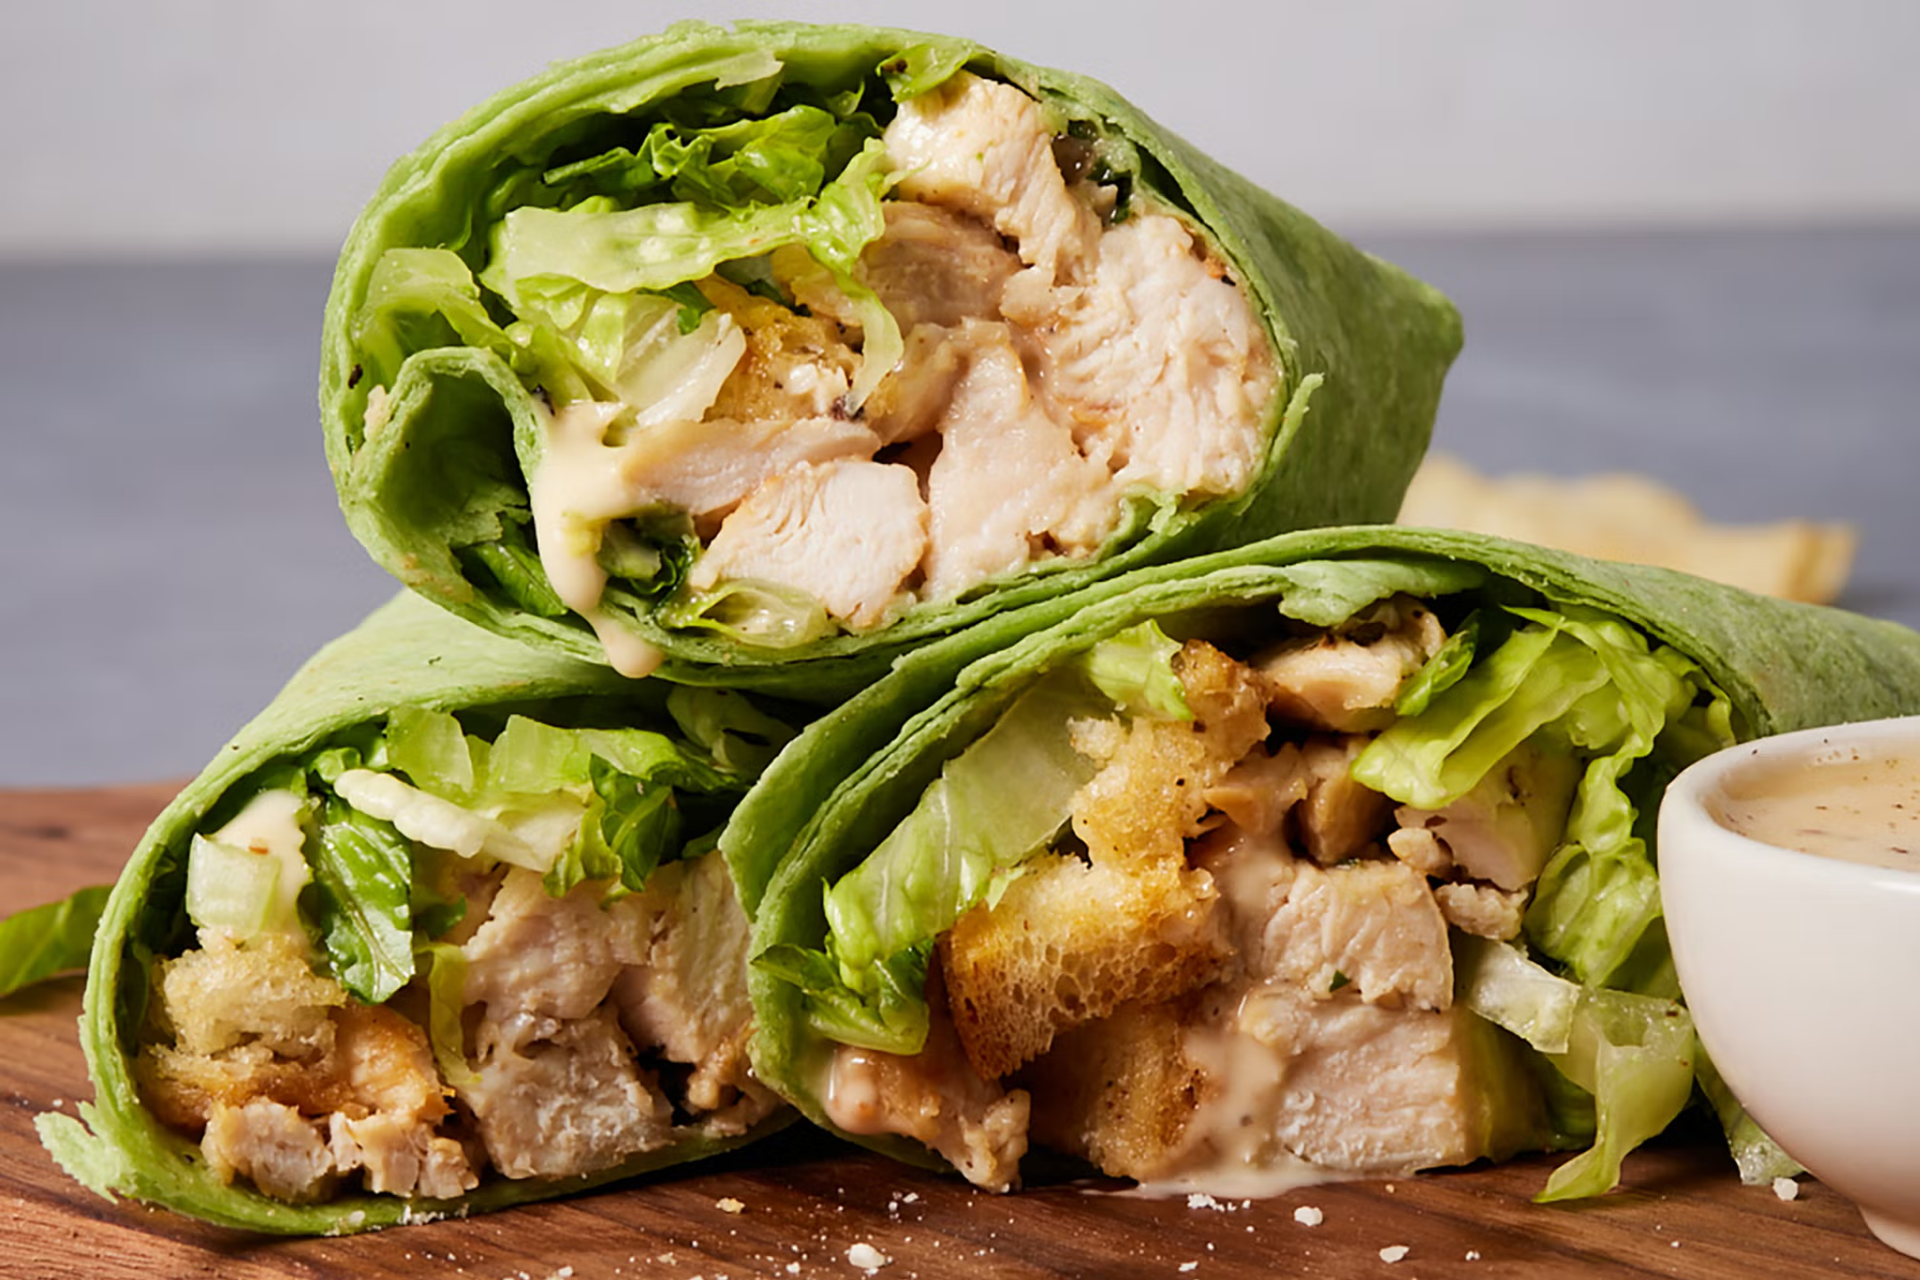
The easiest 15-minute recipe!

“Home Inventory in 30 Minutes: The Thing You’ll Be Glad You Did”
Includes: phone video walkthrough method, where to store it, high-value items scheduling, receipts/photos and downloadable checklist for home inventory.
January 2026